
How to Organize Your Sample Library Like a Pro
If you've ever wasted 30 minutes digging for that one wallpaper swatch, only to find it wrinkled under a stack of discontinued tile boards, you're a true designer. We've all been there. But here's the thing: a disorganized materials library costs you time, energy, and yes, money.
A well-organized library isn't just nice to look at. It's a real asset to your business. When your samples are easy to find, you save time, make quicker selections, and present a more polished and professional experience to your clients.
So, how do you get organized so you can not only find your samples, but know exactly where to put them when you're finished using them? Let's dive into the key steps to get your library functioning beautifully and efficiently.
1. Start with a Ruthless Purge
This is your no mercy step (and my personal favorite). Go through every sample, binder, basket, and board in your materials library. If it's outdated, damaged, discontinued, or hasn't been touched in two years, it's time to let it go.
You don't need to hold on to pieces that no longer reflect your style or your clients' needs. Samples take up valuable real estate. And that clutter is slowing you down and clouding your creative process. Set up three bags: donations, recycling, and trash. This one session will free up physical and mental space and give you momentum. At the end of this purge, label a basket or bin for future samples that will fall into this category.
2. Sort by Category, Then by Color
Now that you've cleared the clutter, group what's left by category. Think fabric, wallpaper, carpet, tile, stone, wood, paint, leather, metals, hardware, and more. Once sorted by type, break each category into subgroups by color or tone, end-use, or price, depending on the category.
This will make your materials easier to access during a design meeting or design scheming session. It also helps your eye scan quickly. You want to be able to grab a warm green mohair or a particular marble mosaic tile without digging through ten random bins. Use matching wire containers, vertical folders, lucite containers, or baskets to create a visually calm system. Label everything clearly so your team and future you can stay organized. I love a good label maker!
3. Get Specific
How you organize each material will be different for every design firm, but here is how I like to do it depending on the material.
Fabrics
I have shelving for books I carry, like Kravet. Each shelf is organized by color, or end use (like window treatments), solids and prints.
Loose samples are harder. For multi-purpose fabrics I order by color or similar colors.
- Whites, off whites, light beiges
- Darker blues (navy, midnight, etc.)
- Lighter blues
- Turquoise
In separate areas I will have all of my window treatment, leather, outdoor, marine, and commercial/contract rated fabrics. Again, within those I like to organize by color. The hardest to organize are the prints, which I loosely organize by background color.
Wallpaper
I like to organize wallpaper in hanging folders. I find them easier to flip through. Again, sorted generally by color.
Metal
I have metal samples for hardware (knobs, pulls, etc.), plumbing finishes, and outdoor furniture metal frame finishes. These I group by manufacturer. For knobs I have boards for my favorites.
4. Designate a Favorites Spot
Every designer has a few go-to materials they use frequently or new samples they want to incorporate into designs. Keep those in a designated section so they are top of mind.
Think of this like your seasonal capsule wardrobe, but for materials. Rotate in fresh options every quarter or whenever you feel your creativity needs a boost. When a new project comes in, this favorites tray makes it easy to build out a palette quickly and beautifully.
Plus, it gives you a chance to stay visually inspired by what's new, what's working, and what feels aligned with your ideal client.
5. Add a Monthly Reset to Your Calendar
Even the best organizational systems need maintenance. Schedule 15 minutes at the end of each month to tidy, restock, and reassess your sample library.
Did anything go missing? Are there samples that are getting worn out? Did a vendor launch a new line you want to add to your collection? A quick monthly check-in helps you stay on top of these small details so they don't turn into big messes down the road.
This reset also gives you space to re-evaluate what you're actually using. If something hasn't been touched in months, it might be time to retire it. Keep your library lean, current, and reflective of the projects you want more of.
An organized sample library saves time, supports faster design decisions, and sets a professional tone for your studio. It becomes a system that serves your creativity AND your business.
Start small and stay consistent. You'll be amazed at how much smoother everything runs!
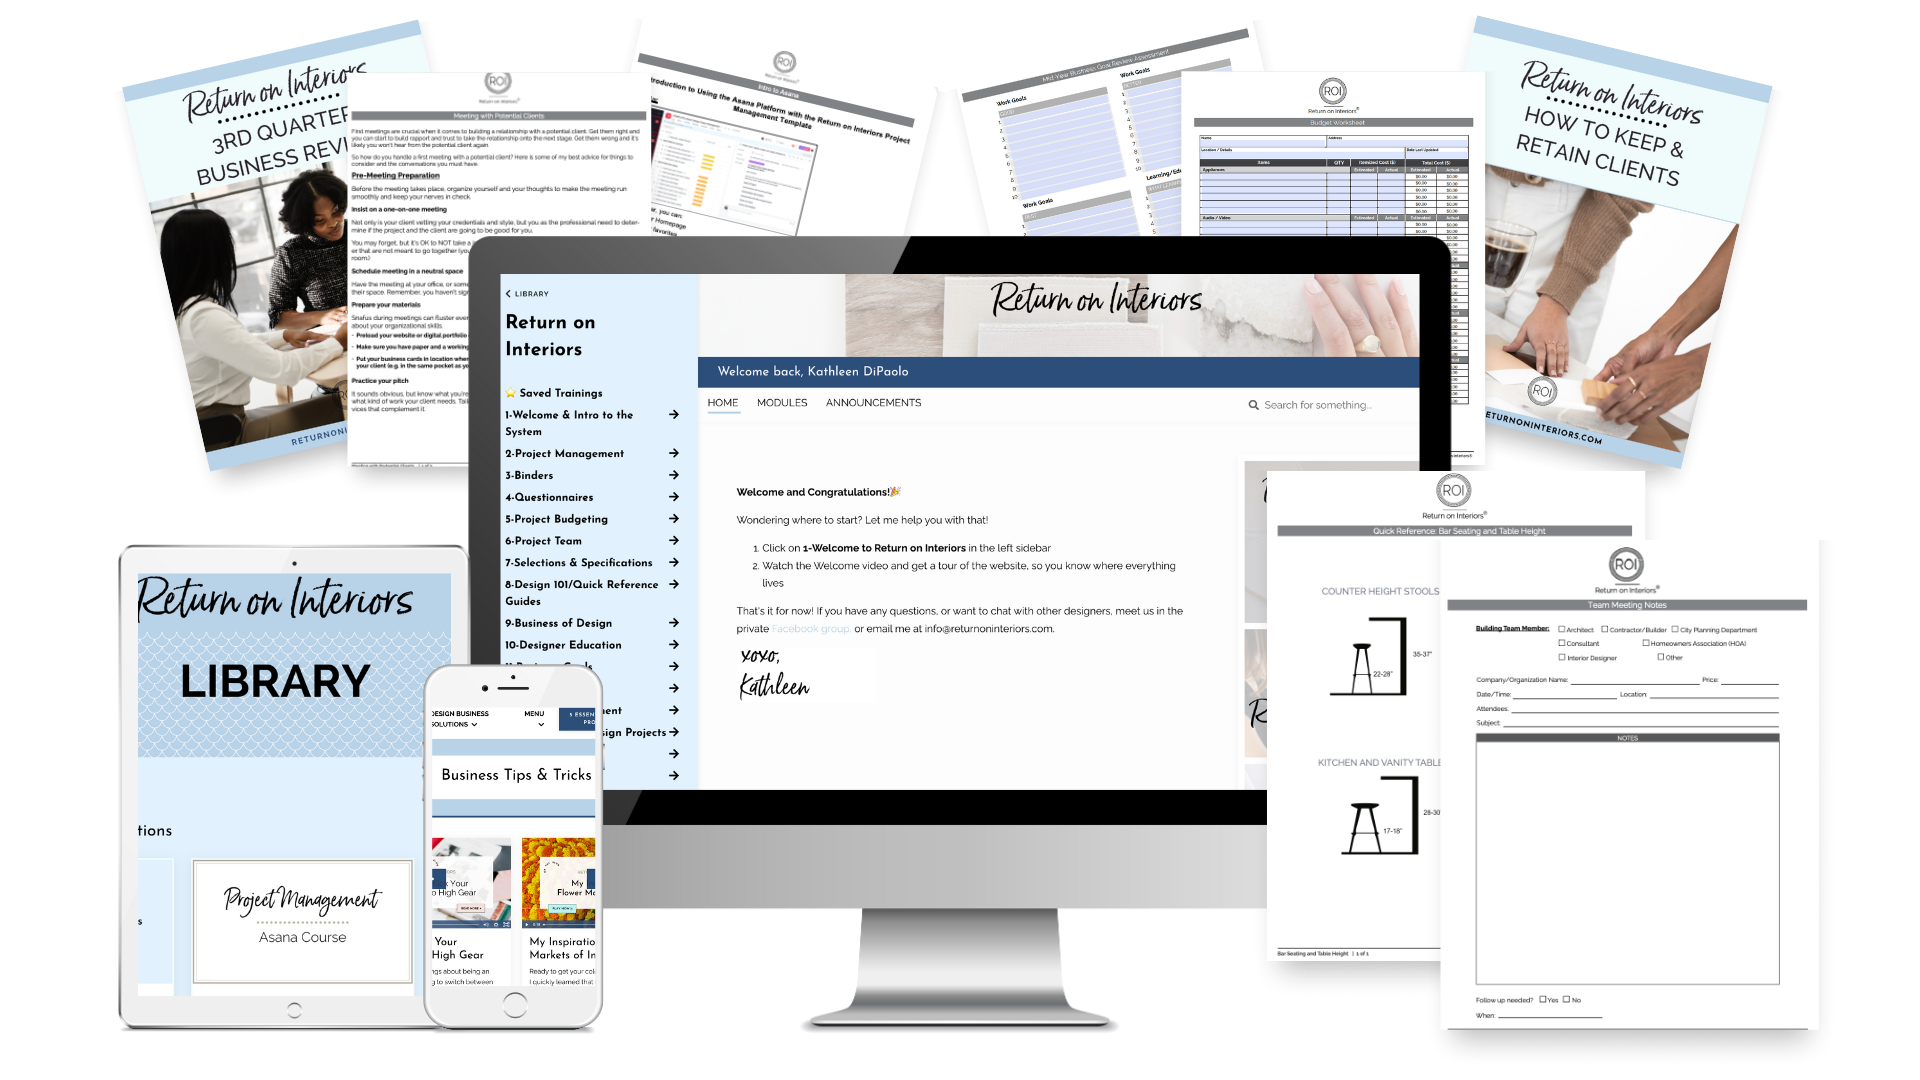
If you are ready to bring that same level of organization to the rest of your business, my FREE 5 Essential Business Processes guide is the perfect place to start.


P.S. An organized sample library is just the beginning. When every part of your business runs this smoothly, everything changes. Grab the free guide and see what is possible!
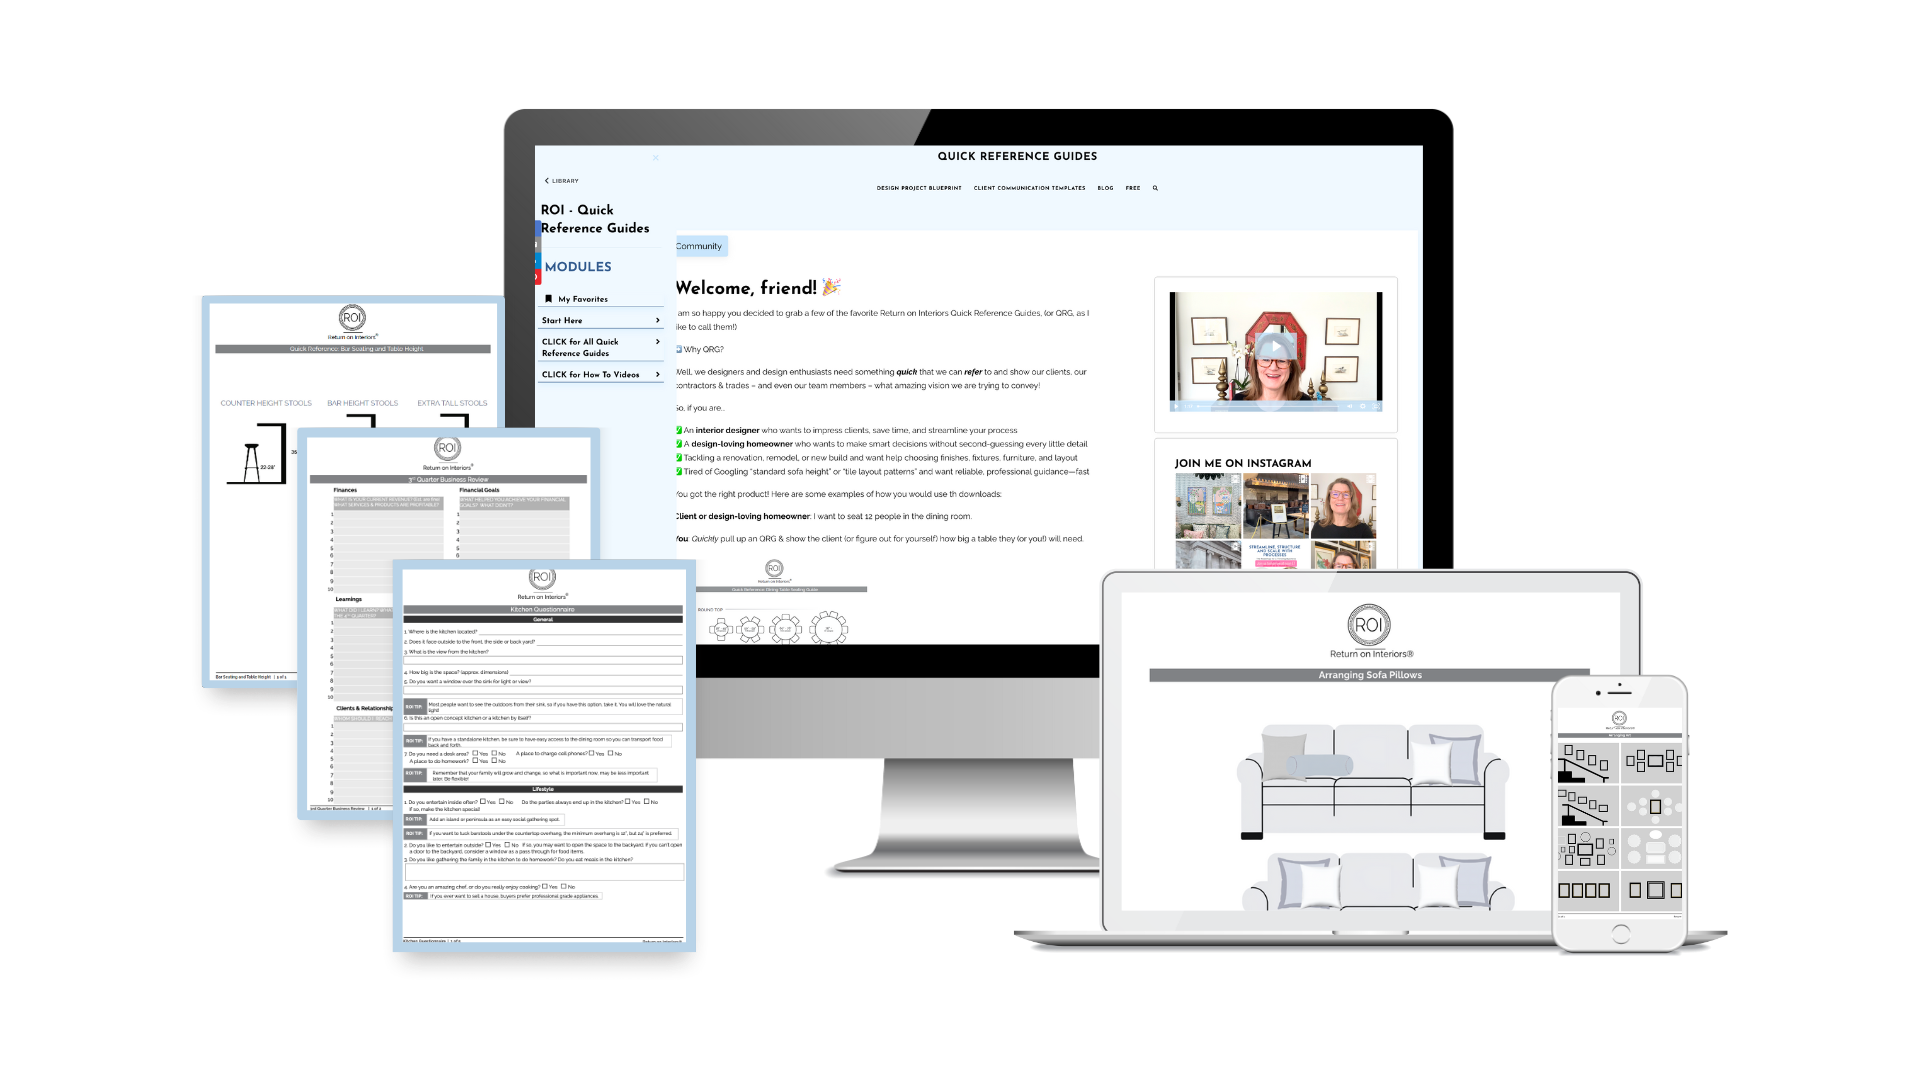
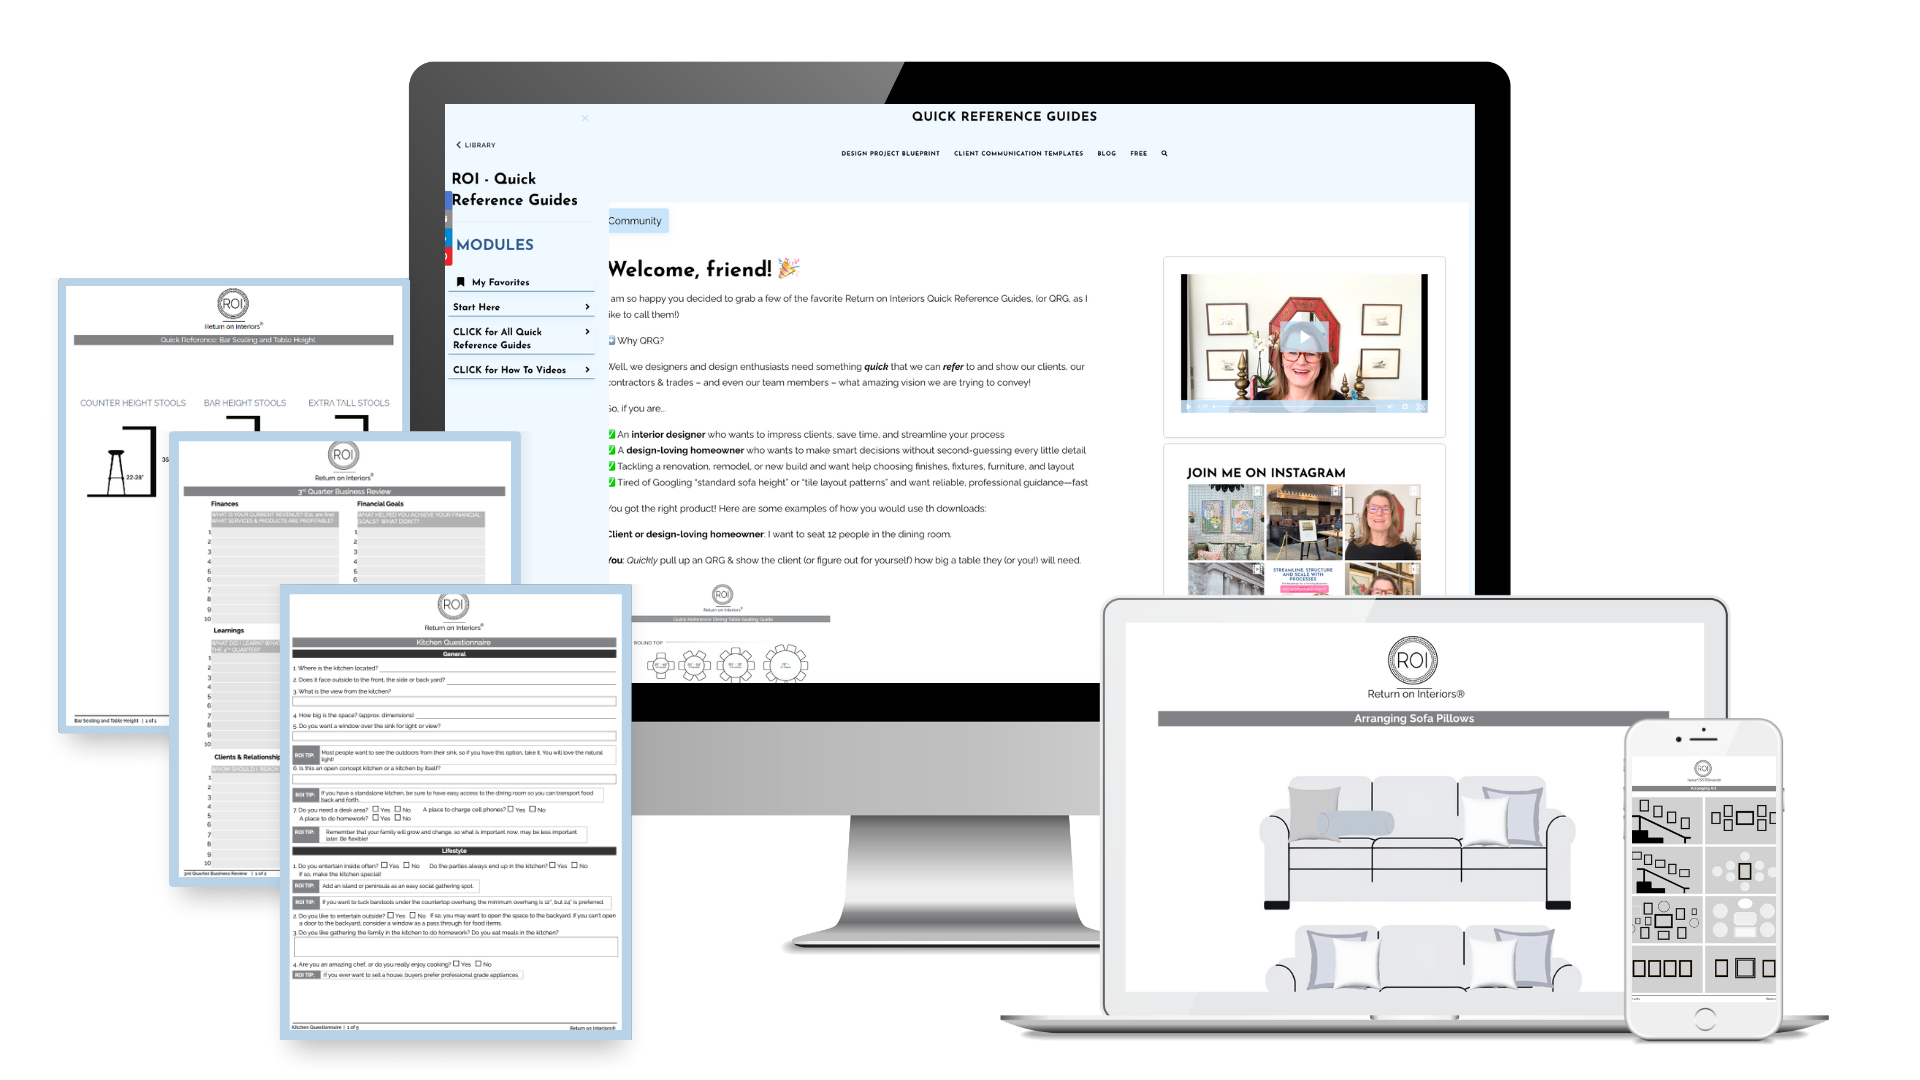
Get the Free Sample Pack
Eight tools built to make sure nothing gets lost between you, your client, and your trades.
Quick answers without the googling
49 Quick Reference Guides for interior designers. Visual, printable, and ready to use.